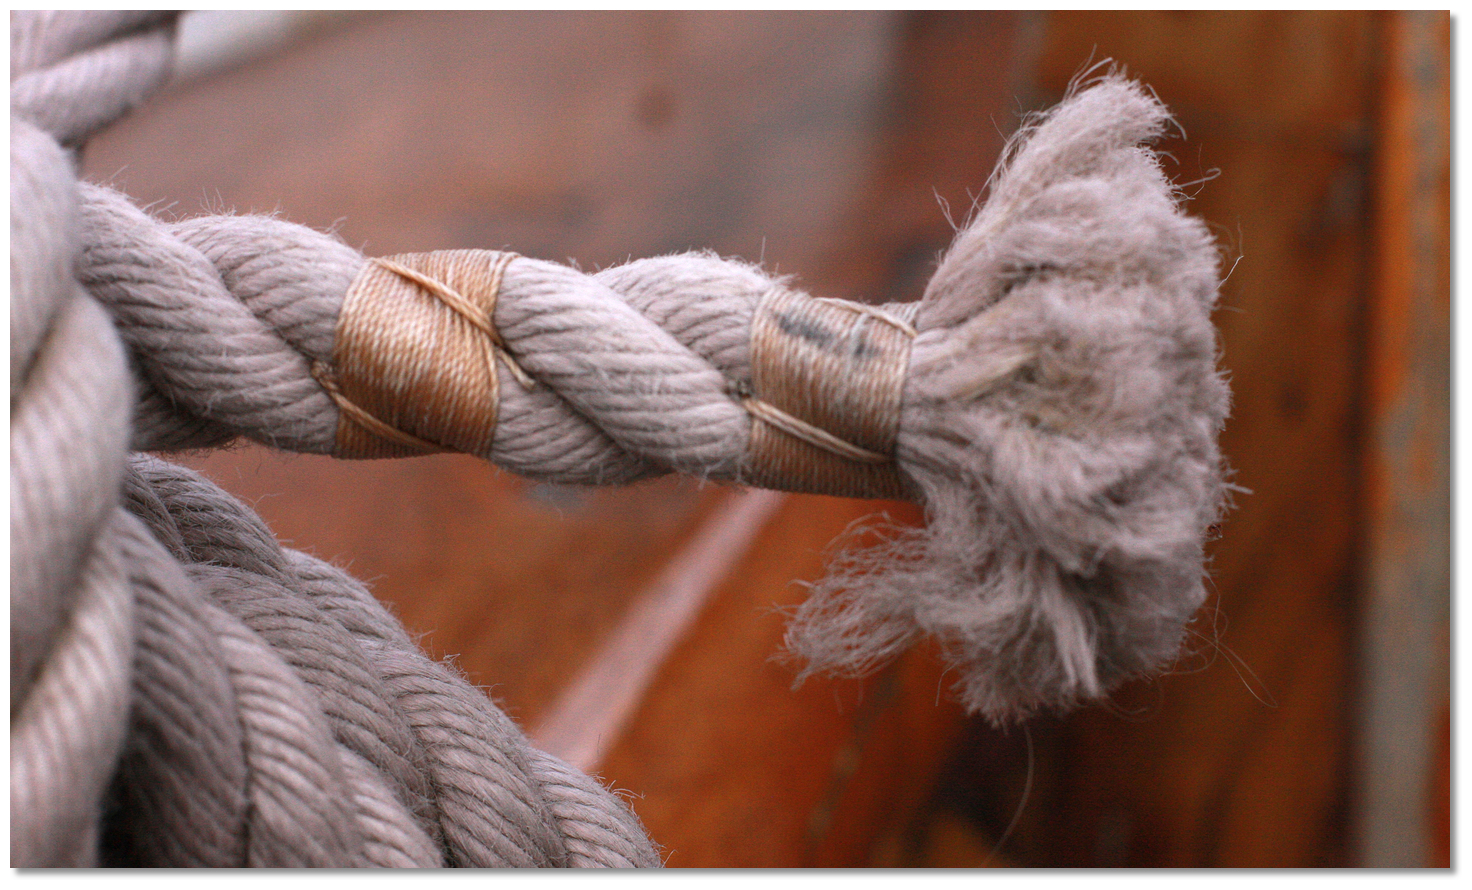
What is the issue?
Almost all lines get worn and unravelled at the edge. This natural attrition, if left unattended, shortens the lines and makes for an ugly appearance.Why address this?
Remedying this not only keeps the lines of the boat in good shape it also adds to their appearance.How to address this?
Whipping is the classic simple way to stop a rope from unravelling. Common whipping, the easiest form, looks very neat, is easy to learn and quick to make. The benefit of it is that it works on twisted or braided rope alike, requires no specific tools and the rope does not need to be unlayed. With a little practice and the appropriate size of whipping twine, it creates a very neat appearance with no visible ends.
The rope should be whipped about one and a half times the diameter from its end. Sometimes a little tape on the end may be used to hold loose strands in place.

Lay the head of the twine along the rope, make a bight back along the rope.

Start to wrap the twine around the rope and bight of twine in neat tightly laid lines. Wrap until the whipping is one and a half times wider than the rope is thick.

Slip the working end of the twine through the bight. Carefully pull on the standing end of the twine until the bight and working end are pulled under the whipping. It is normally necessary to maintain tension on the working end to prevent the bight from being dragged completely through and so destroying the whipping.

Cut the twine flush with the edges of the whipping and the rope end not less than half its width from the whipping to give the rope end a finished look.
 A double sailmaker's whipping, one of the most durable and stable of rope
whippings
Photo: jeuwre via ASA 3.0
The problem with Common Whipping is that it can slide off the end of the rope in use. Other whippings, such as Sailmaker's Whipping or West Country Whipping avoid this by interleaving the whipping with the strands of the rope and creating friction with the strands to avoid slipping.
 Finishing tightly bound whipping
Photo: Michael Harpur
I personally overcame this problem by always whipping very tightly, perhaps unnecessarily so. However, I cannot recall anything I whipped coming off. Even my whips to the rigging took on the hold of a spot weld so I cannot say I would change the approach. If you plan to whip tight I recommend using a sailing glove as you whip around to stop the whipping cord digging into your hand. When pulling through the end piece use a clove hitch on a screwdriver, as below, to make it easier.
 Using a screwdriver to help pull the end under very tight whipping
Photo: Michael Harpur
I found whipping to be an excellent way to finish off rope ends, secure items to a line, or to join two objects. You only need to do it once to learn the technique. Several turns of self-adhesive plastic tape may form a temporary or emergency substitute for whipping. The ends of some man-made fibres such as Dacron, Nylon, polyethylene, polyester, and polypropylene may be melted to fuse their fibres to prevent fraying. However, this is not ideal as heat-sealed lines can have sharp edges that can cut a hand open. I wholeheartedly recommend learning how to whip as it was one of the simplest and most useful, if not even decorative pieces, of line handling I learned during my circumnavigation.
Graphics with thanks to Hella.
With thanks to:
Michael Harpur, Yacht Obsession.Common Whipping
Add your review or comment:
Please log in to leave a review of this tip.
eOceanic makes no guarantee of the validity of this information, you must read our legal page. However, we ask you to help us increase accuracy. If you spot an inaccuracy or an omission on this page please contact us and we will be delighted to rectify it. Don't forget to help us by sharing your own experience.

